This is the early access documentation preview for Custom Views. This documentation might not be in sync with our official documentation.
Getting Started
Get up and running in a few steps and start developing Custom Views for the Merchant Center.
Prerequisites
Before you start development, make sure to have the following:
Install a starter template
The easiest way to get started is to use one of the starter templates. To create a new Custom View from a starter template using create-mc-app, run the following command:
npx @commercetools-frontend/create-mc-app@latest \my-new-custom-view-project \--application-type custom-view \--template starter
To start with a TypeScript project, use the --template=starter-typescript flag. To learn more about using TypeScript, see Adding TypeScript.
After the installation is complete, follow the instructions to start the development server:
cd my-new-custom-view-project && npm start
This command opens a new browser tab pointing to http://localhost:3001.
You'll be redirected to the Merchant Center login page, where you need to enter your commercetools account credentials. After authentication you'll be redirected to the local development server and have access to the Project.
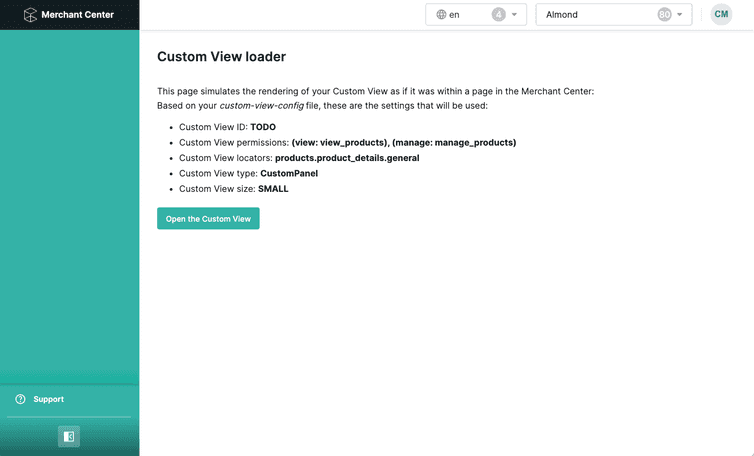
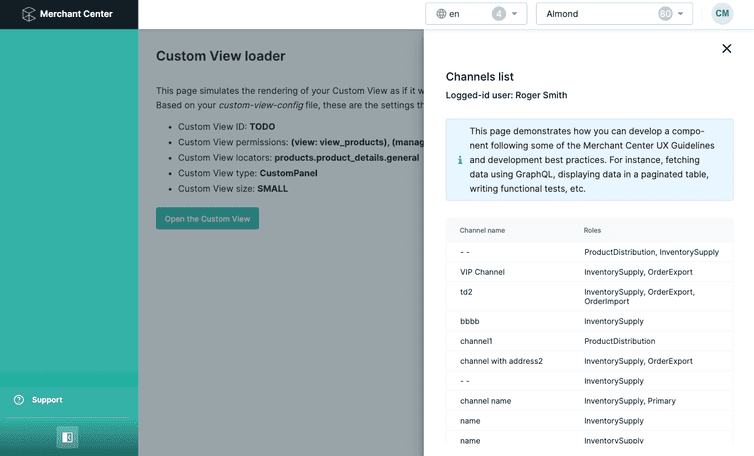
Custom Views are meant to be used within Merchant Center built-in applications. Hence, the local server will first render a dummy application, allowing you to open the Custom View the same way it will do in the actual Merchant Center.
The following image shows how the local development landing page looks like for the starter template:
And here is an example with the Custom View opened:
Configure the Custom View
One of the important parts of a Custom View is the configuration file: custom-view-config.json.
We recommend making yourself familiar the Custom View Config.
By default the starter template is configured to use the HTTP APIs in the GCP-EU Region. If you plan to run the Custom View in another environment, change the cloudIdentifier accordingly (see list of cloud identifiers).
User access for local development
To start developing your Custom View locally, choose a Project belonging to an Organization in which you are a member of the Administrators Team.
You have the option of assigning granular permissions to teams to enable local development. For more information, see Granular permissions for local development.

